Screw Attack Short Boost (SASB) involves some quick and precisely timed inputs and can punish you heavily for failed attempts. The pause-buffered setup alleviates this somewhat and can help with consistency.
Note: this page concerns pause buffering the actual inputs of Screw Attack Short Boost, rather than making the spark store more lenient at the end of the Speed Booster charge. If you're looking for the latter, please see the Global Map Buffering page.
¶ Pause Buffering
Pause buffering is a technique to do specific inputs on exact frames. It is performed by frame advancing with pauses and buffering inputs on pause screens.
Frame Advancing: From a pause screen, unpausing the game and pausing again a frame later in order to progress the game one frame at a time.
Buffering inputs: Holding an input on the pause screen while unpausing the game, so that the input goes through on the first possible frame.
¶ Frame Advancing Techniques
The general technique for frame advancing is to press B with one hand to unpause and immediately after press + or - with the other hand to pause again. The difficulty comes in the timing -- if you take more than one or two frames to pause again you are likely to miss your input window, and if you press B and pause on the same frame you'll just end up with the game unpaused and almost certainly fail the attempt. One technique to aim for single frame pauses while reducing the risk of missing the pause input is to press both + and - when pausing (one very slightly after the other) so that if one happens to be on the same frame as the B press, the other will act as a fallback. This technique is best used when you don't intend to reference the map to check your position after pausing, as you are likely to not end up on the correct pause screen.
¶ Pause Buffered SASB Execution
It is worth noting that there are different setups and timings than what we are doing in this guide that can lead to a valid shortboost, but differences cascade through the trick — for the pause buffered version we overspecify so that we can rely on specific points of reference in the trick.
Also, for most of this trick you can get away with advancing two frames at a time instead of one.
¶ Setup
The objective in this section is to end up in a precise location before our flash back.
Starting from the ledge:
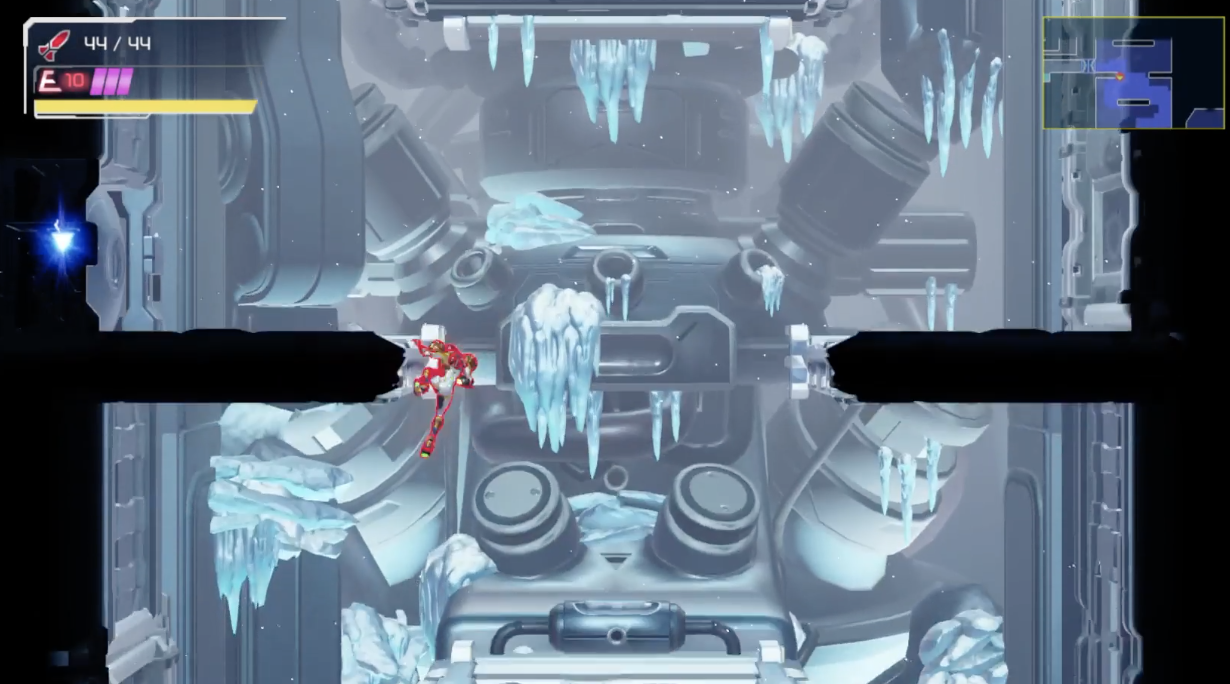
Slow climb up while holding L. Let Samus come to rest before proceeding:
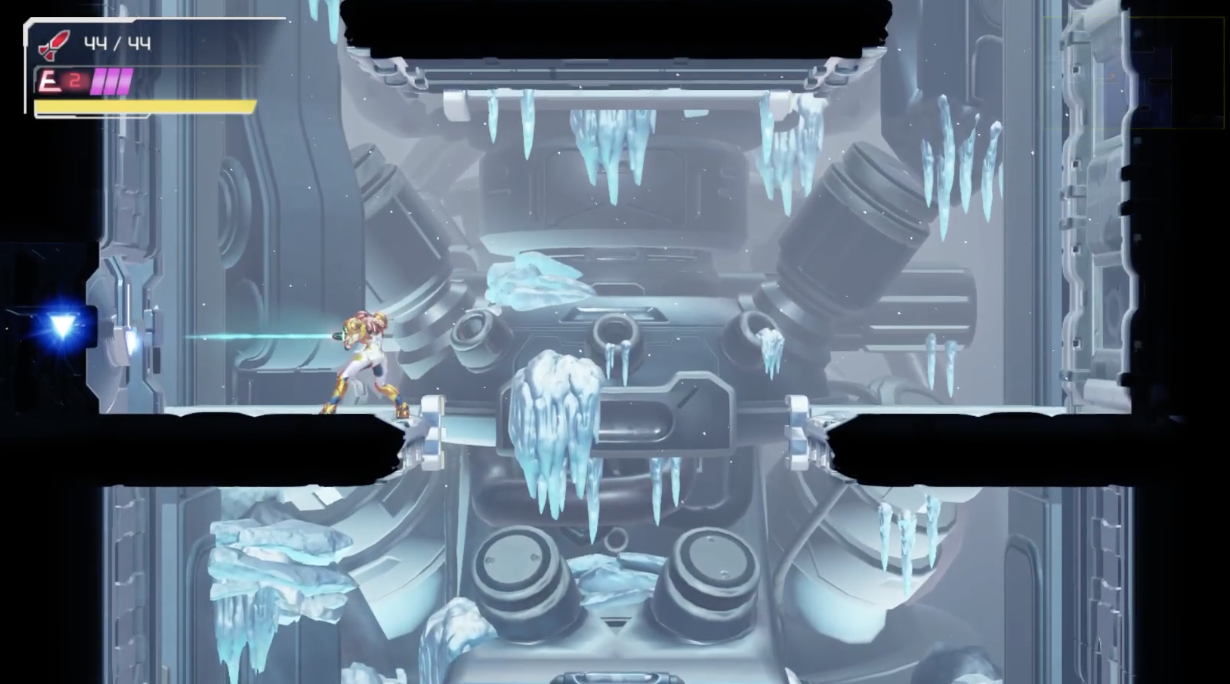
Open the grapple door:
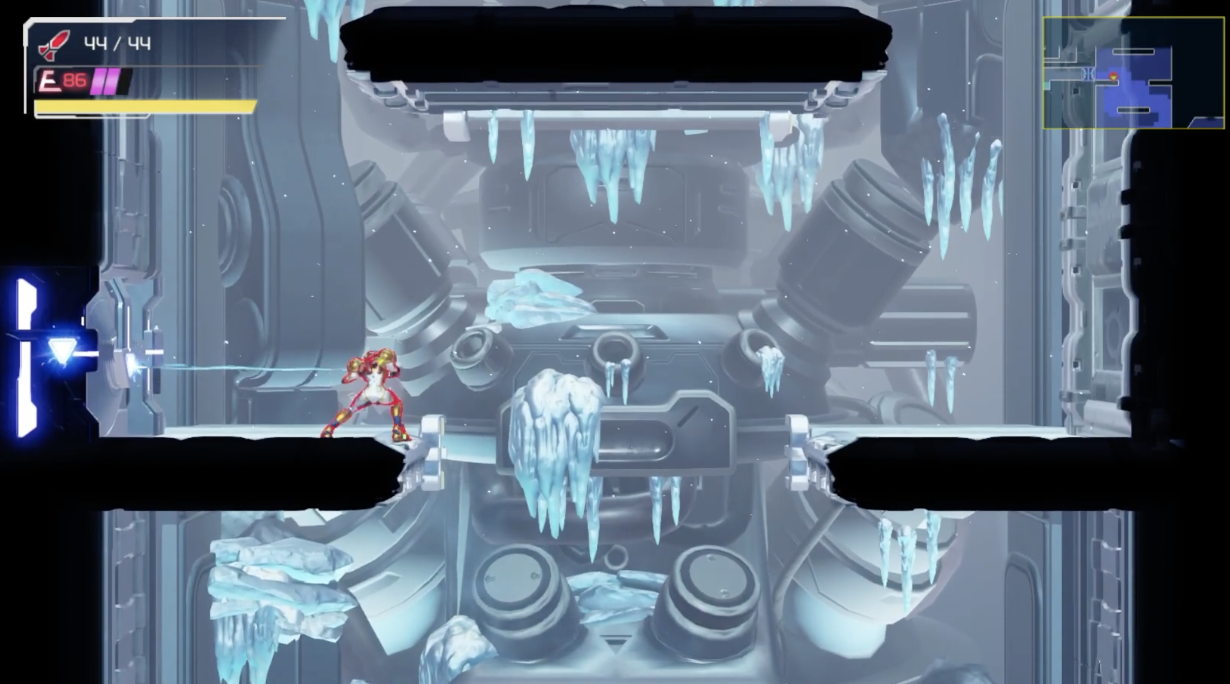
During the ending animation, hold left and X to buffer a melee left. Don't mash it or try to time it or you won't be guaranteed to be in the correct position at the end of the setup!
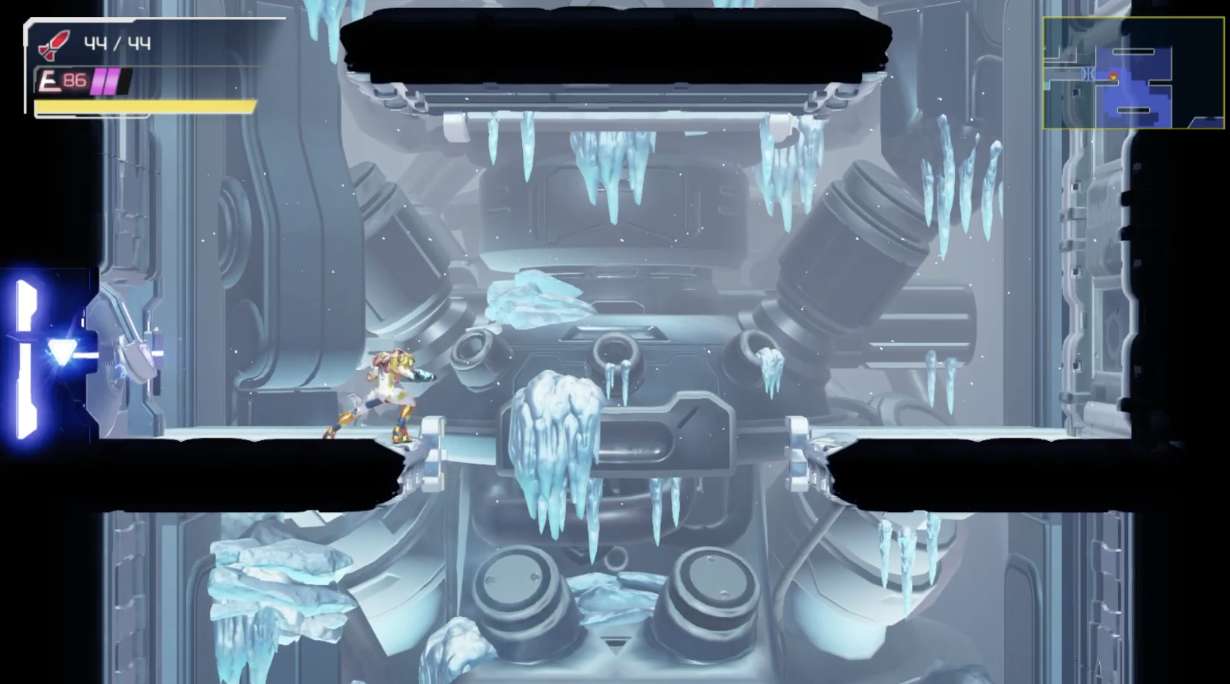
During the melee animation, hold L:
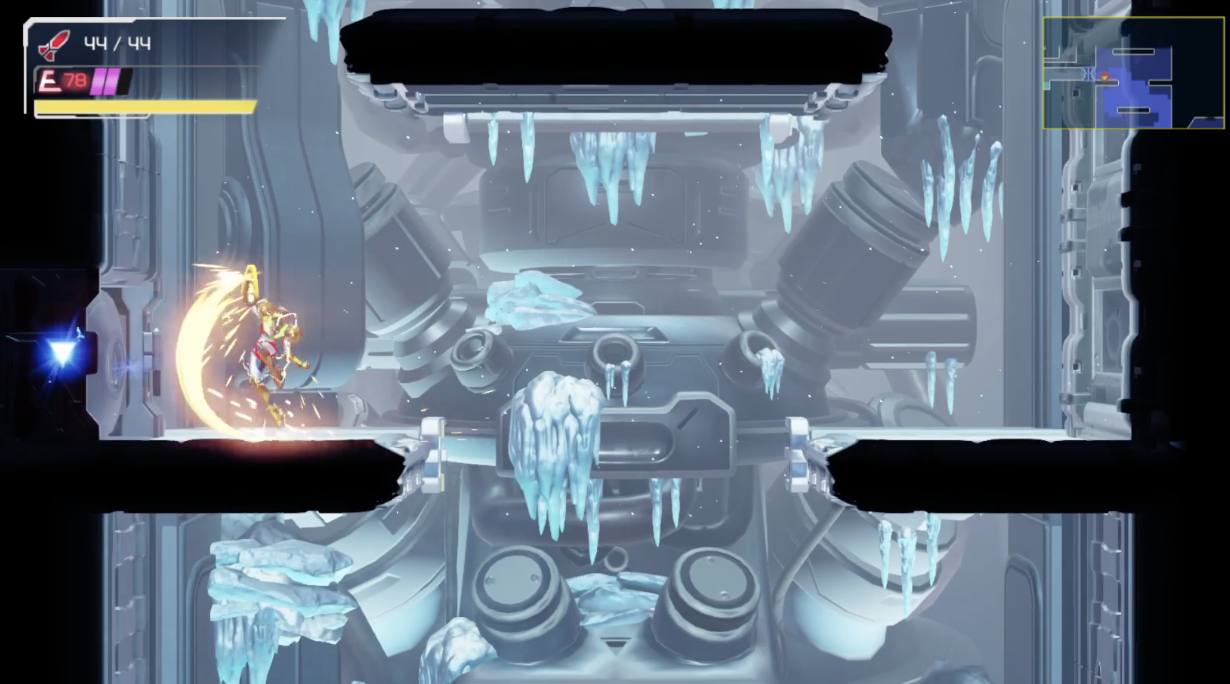
Give yourself a moment to settle after the melee (while still holding L):
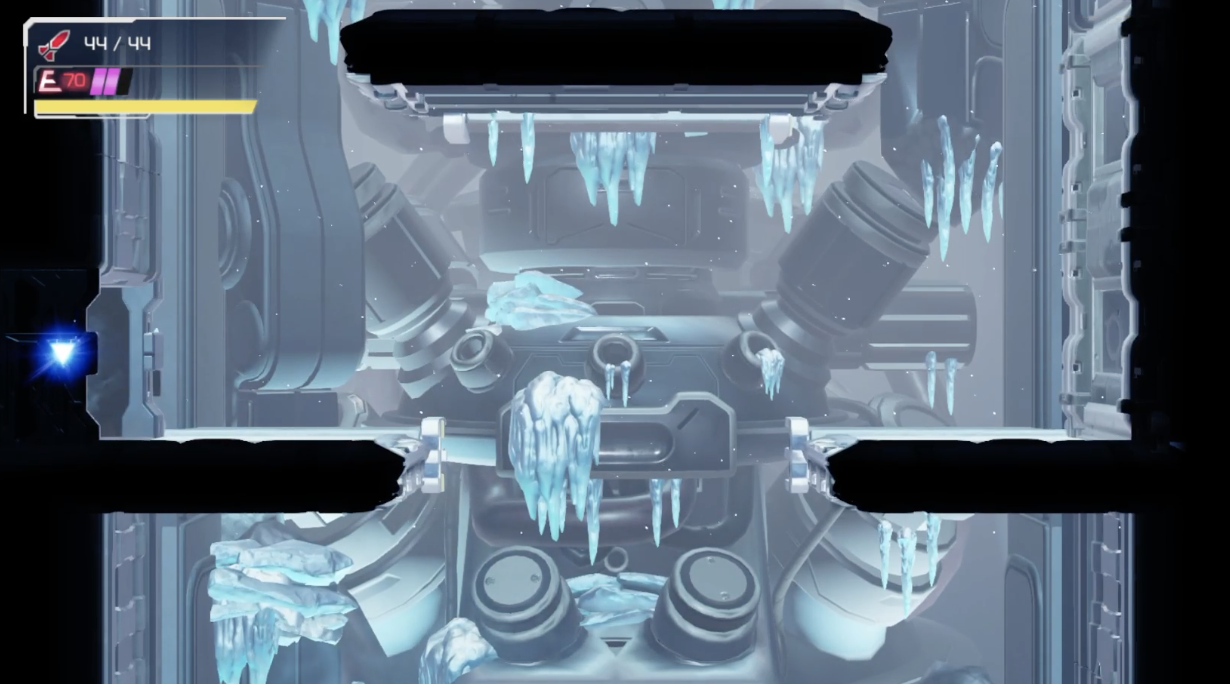
Flash shift right and quickly pause with +. Please note that you can hold right and hit A (or the other way around) to execute a flash shift. You do not have to hit both inputs at the same time. Wait until after you have paused to release L:
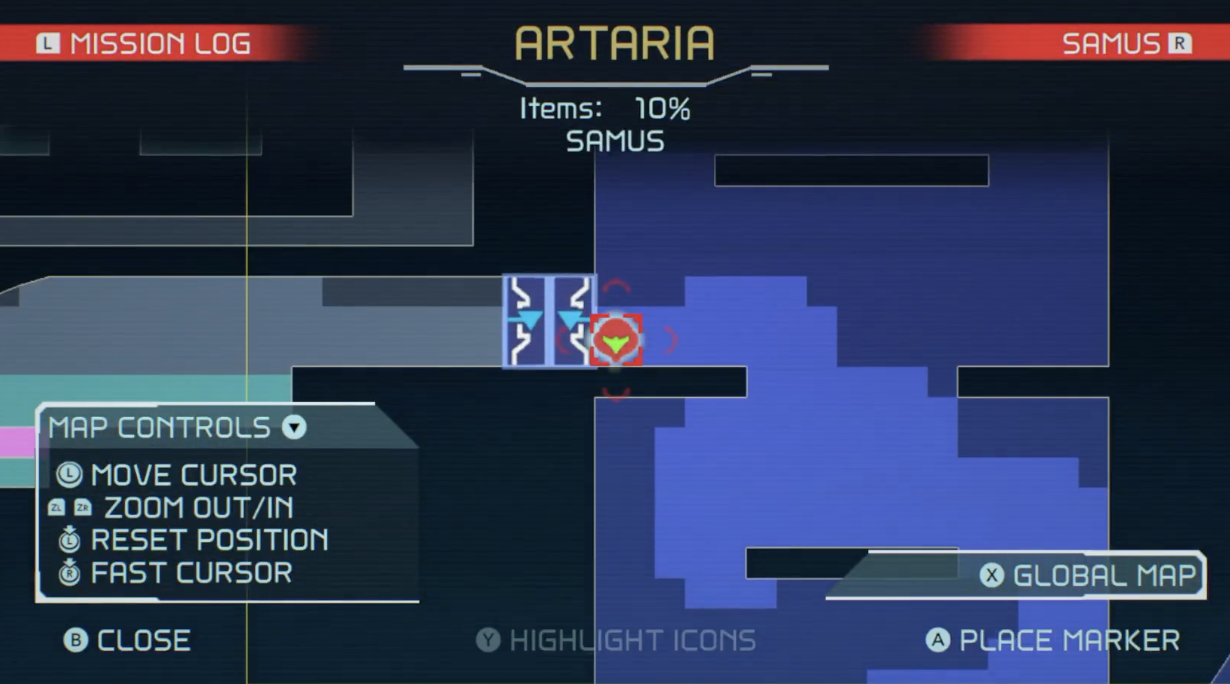
Zoom in on the map screen with ZR to inspect your position. During the flash shift you will move about half a helmet's width per frame. If you are left of this point, release all inputs and buffer frames until you reach this point. If you are too far right, you will need to start over and try again. Pay attention to the way that the left edge of the helmet very slightly overlaps the door on the fully zoomed in map screen, if you are slightly off from this, your position wasn't quite right before the flash shift. You must get this position correct for the following steps to work.
¶ Flash Cancel
Now we will cancel our flash in a very specific way in order to get a very specific trajectory.
On the pause screen hold down and advance a single frame. You can get away with two frames for a lot of the trick but not here, this absolutely must be a single frame input. We won't be referencing the map immediately after this, so its a good place to use the technique of pausing with both + and -.
Next, hold left and frame advance twice. This input is lenient, getting two frame advances is just fine.
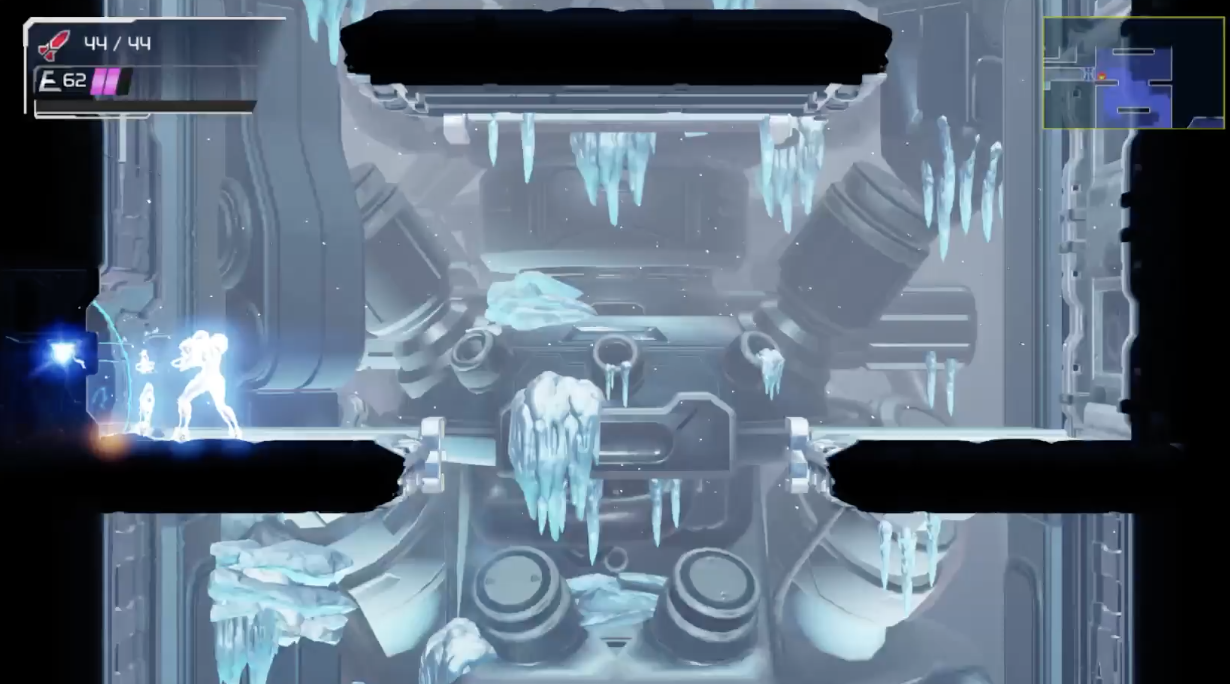
After these inputs, you will be around this position:
¶ Waiting to Run
From this point we must wait several frames with the stick neutral before we can start running left. There are two valid frames we can run on, so we will advance frames while looking for a specific visual indicator in between pause screens.
Since we have two valid frames, you can get away with two frame advances for this part! Pausing with + and - is also a good option here as we are not referencing the map.
The first step is to check that your flash cancel went well. Advance a few frames and verify that you settle into this position:

Note how your head is lined up with this seam in the background. You must end up in this position or the following steps won't work. If you are out of position, restart immediately and try again. Not hitting the single frame down input during the flash cancel seems like the most likely reason to slide out of position.
Once you have confirmed that, focus on this section to start looking for your cue to start running:
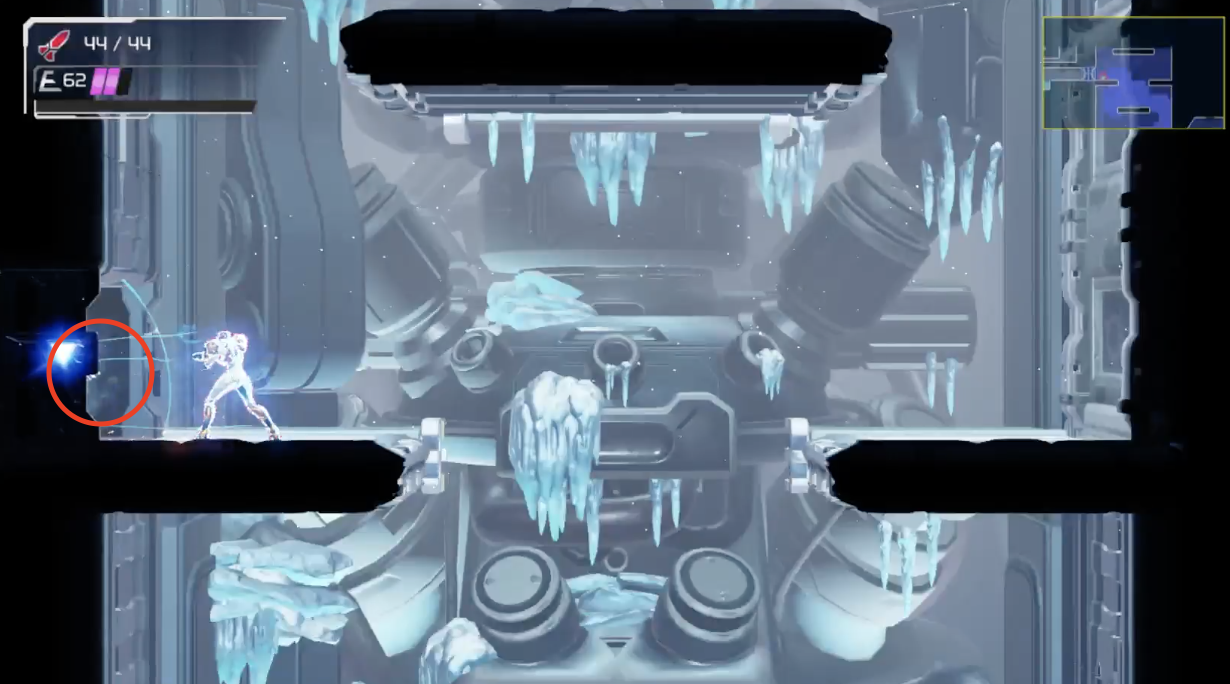
Specifically, we're watching for these particles from the flash shift to emerge from the doorway:
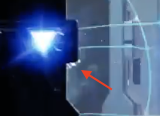
Here it is frame by frame:
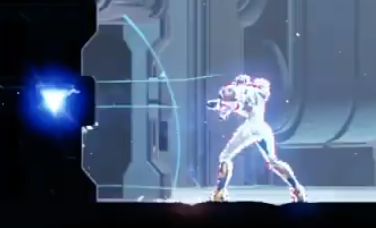
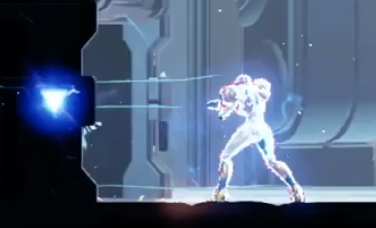
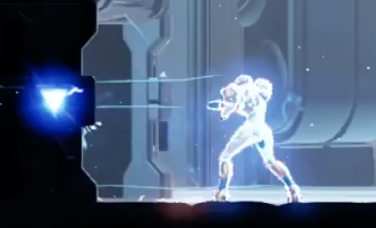
In the next frame, the particle has just started emerging, this is what you should be watching for. This is not the target frame, but this is your indication that you are close:
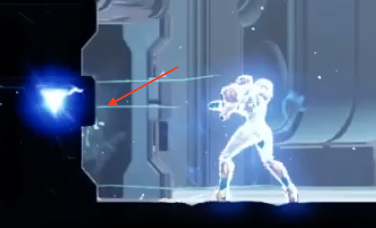
There are two frames with just a sliver, neither frame is what we're after:
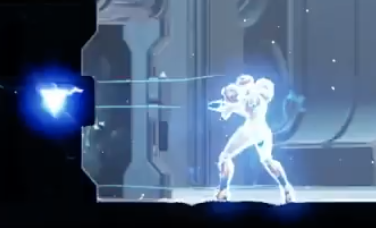
Below is the first target frame!
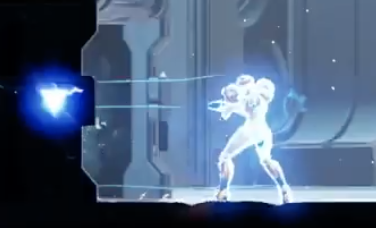
And this is the second target frame:
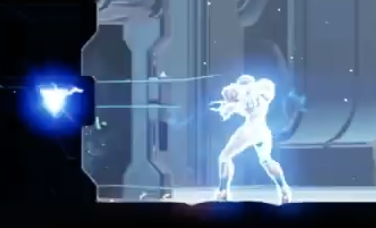
The frame below means you are too late:
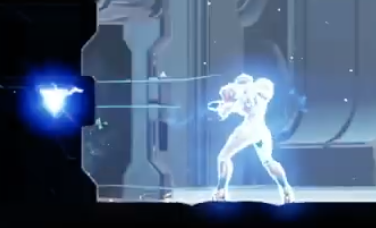
Once you have found a valid frame, hold left, unpause, and press speed booster (you can't buffer the speed booster input from the pause screen). You are aiming to get speed booster started as close to the frame after unpausing as you can. Its somewhat lenient but you need to time it, just mashing is likely to get your booster started too late. If all goes well with the timing to run left, you'll slide to the right edge with an uninterrupted run:
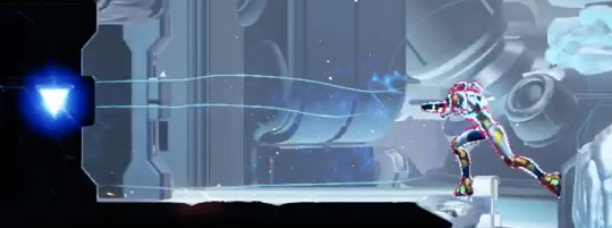
If you get this slide but your booster never finishes charging, you are starting your booster too late.
¶ Storing
You only have one or two valid frames (depending on which frame you started running on) to store your spark, so it can be useful to buffer the store as well.
As you near the ledge, pause. Pause slightly early -- if you pause on the frame you should store on, you will miss it.
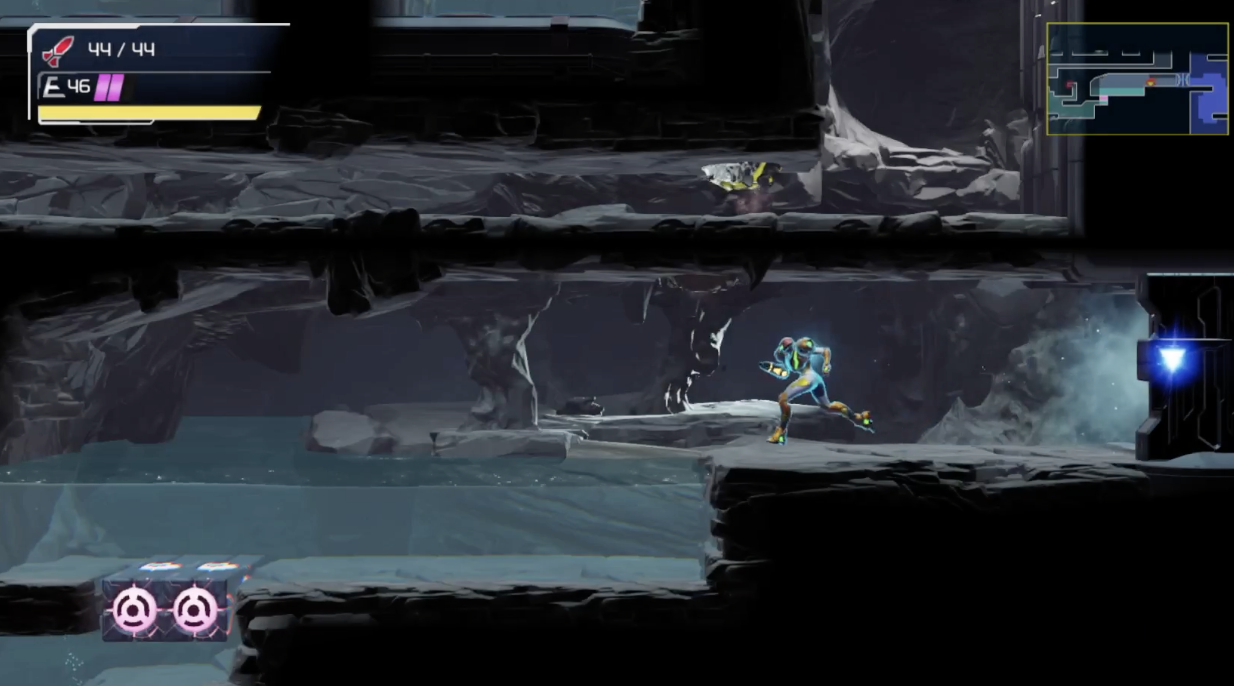
Zoom in on the map to check your position. If you are too far right, hold left and advance another frame:
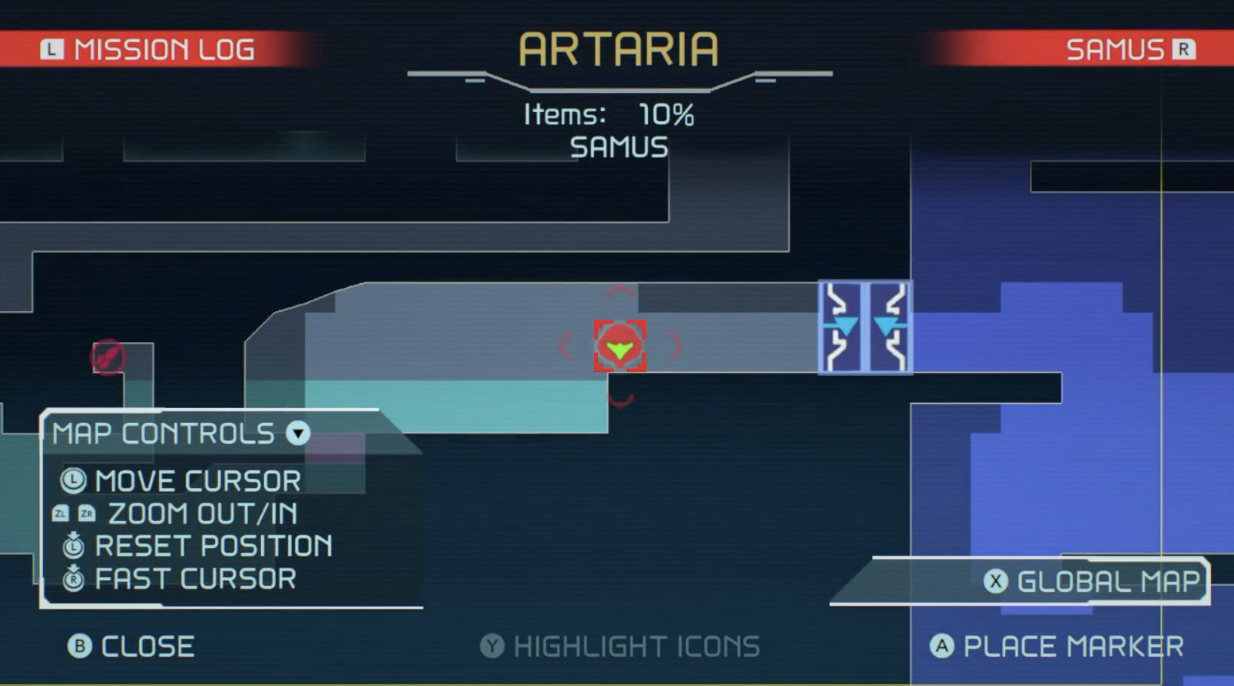
Once you are in this position (or slightly left of it), hold down and unpause to store:
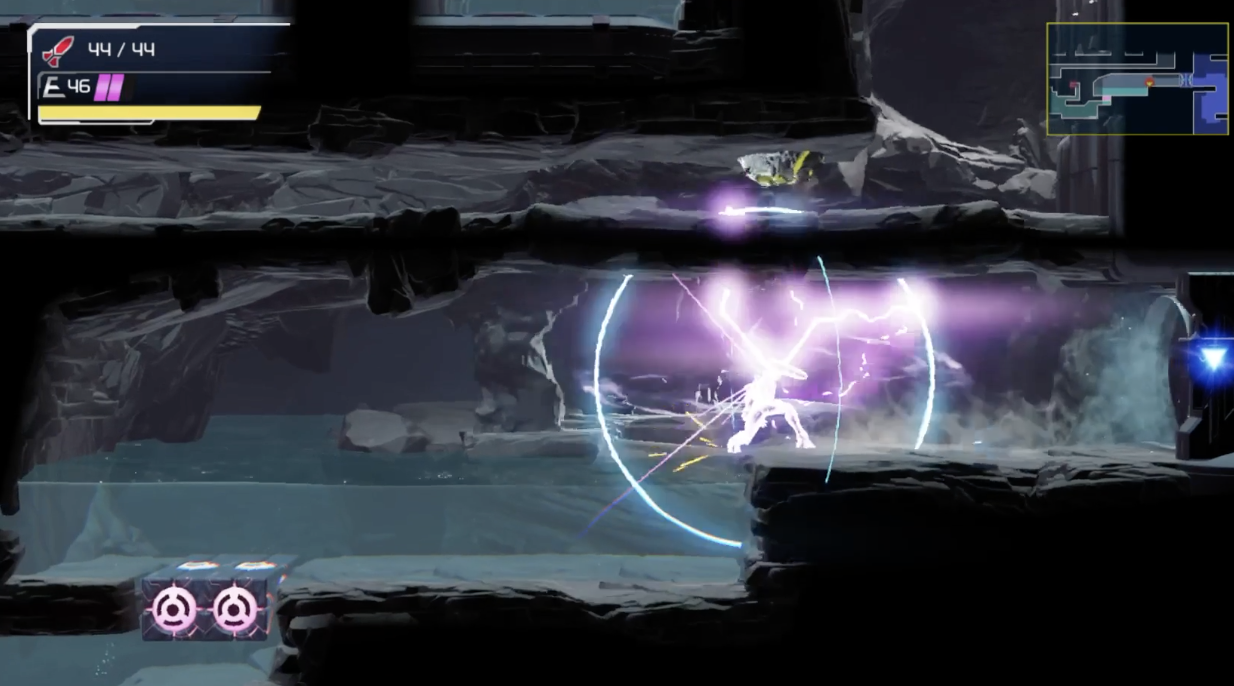
Congratulations!
¶ Other Resources
Credit to Zas for working out this setup.